Wednesday, March 28, 2012

Letter/Number Recognition Test


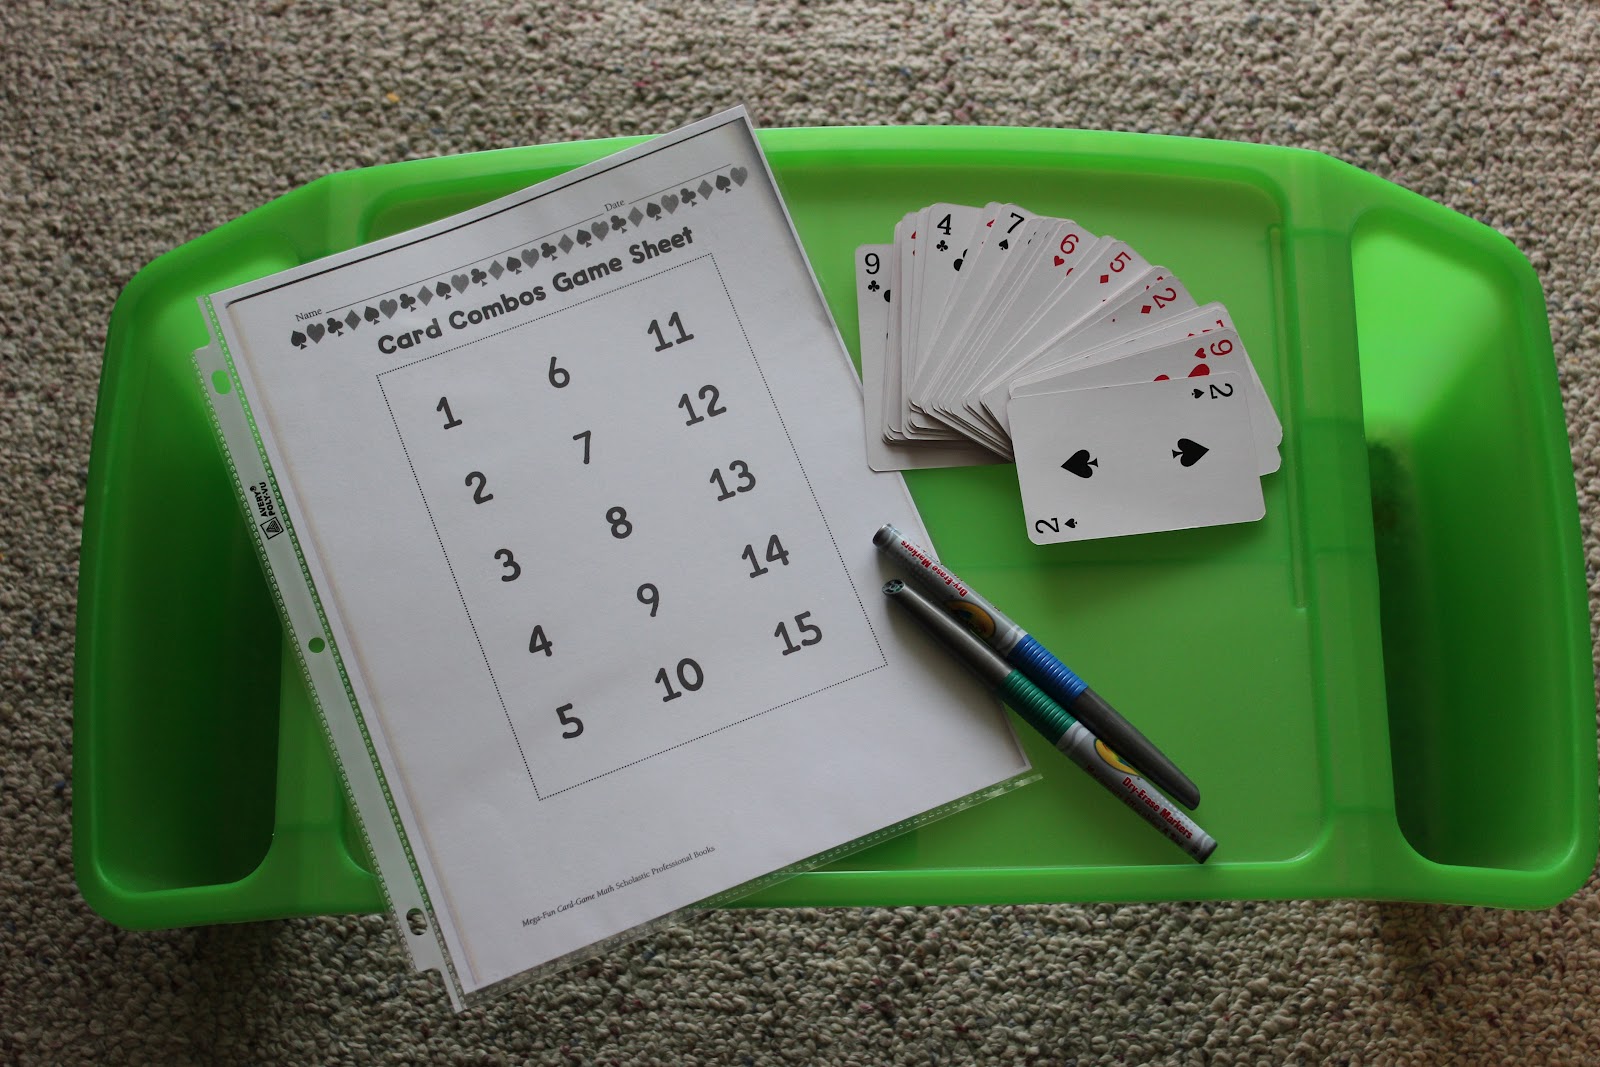
Type out a chart with all 26 letters (you choose if you want capital and/or lower case) and numbers-we did 1-10 for now.
Slip the chart into a protective sheet.  Have your child use a dry erase marker and circle letters and numbers as you give them.  

This is a simple way to test if your child recognizes all the letters and numbers.  You can keep track of the ones he/she doesn't recognize so you can work on those.  This can also be used for letter sounds when your child is ready.  Another way to involve your child in the test is to use a deck of flashcards.  Have him/her flip one over, say the letter and sound, and then cross it off of the chart. 

This activity reinforces letter and number recognition.

Addition Subtraction Card Game

A is filling in for L and doing an addition/subtraction game.
Materials:  Deck of cards (minus the face cards), dry erase marker, chart of numbers (as high as you want-mine is copied from a book I already had, but can easily be made in Word or handwritten), plastic sheet protector

Play:  Flip two cards over and add or subtract them.  Mark out the answer. 

Goal:  Mark off all the numbers before you run out of cards.

This activity can be adjusted for any age level.  Use as many numbers as you want and as many cards as you want.  Pull out the smaller numbers to use for a younger child. You can use only addition or only subtraction, or both, depending on what you are working on with  your child.  You can also have two players and use two different colors of dry erase markers or two different number charts.  Be the first to mark out all your numbers.  What if you have already marked out a number and get the same answer?  Be creative! Try subtracting for a different answer. Or place them back in the deck in different spots.  If you are playing with someone else when this happens, this could be your "lose a turn" or "skip a turn".

This activity reinforces counting, addition and subtraction skills, and number recognition.

Monday, March 5, 2012

Letter Match-Up

Using the letter tiles from a previous activity I spread them out for L to match up.  The task was to match the orange letter to the green letter.

After working for a few minutes L seemed overwhelmed with all the letter tiles. So we decided to separate them into two piles.  Now he could see all the orange letters and all the green letters.   
After matching up all the letters, you can take it a step further and have your child put them in ABC order.

Eventually I will make lower case letter tiles and have L match up his capital letters to the lower case letters.  

This activity reinforces letter recognition.  If you complete the last step it also reinforces ABC order.

Thursday, February 23, 2012

Letter Matching

For this activity I made a capital and lowercase letter chart in L's workbook:  3 columns and 9 rows.  In each box I wrote the letters in very small writing.  L will match up his letters from the stickers to the letters in the box. 

I also used my small stickers from a previous activity to write the letter sets.  I cut the sheet of stickers in half and used three halves for this activity.  This way he only had 9 letter sets at a time to work with (Aa-Ii, Jj-Rr, and Ss-Zz).

His dinosaur friend kept watch for him.

L working on matching his letters.  In the future I won't write the letters on the paper, but encourage him to figure out which letter comes next.  He still has to sing his ABC's a lot to figure out which letter comes next.  If working with his ABC's has taught him anything, it has at least taught him to say J-K-L-M-N-O-P (before those letters were unrecognizable).

All done!  He worked very hard on this and was proud of his work! 

Monday, February 20, 2012

Make Your Own Sorting Cups


My kids love to eat yogurt! Especially Bunny Yogurt (Trix)! So I decided to reuse them. After washing and drying the cups I took some fun duct tape and cut two inch strips. I placed the strips around the cup with the straight edges of the tape lining the top and bottom of the cups. Since my tape is a design, the polka-dots overlap. But they are still more fun to use!


The finished product! They are great for sorting activities, but L also likes to stack them and build castles!

Make Your Own Letter Tiles

Letter Tiles

Materials:

1) wooden nickels (from craft store)
2) mod podge (regular glue would work, but this dries super fast!)
3) two different colors of punch out letters (I had some on hand from my scrapbooking days, but you could also use letter stickers and skip the glueing-or just write the letters on the tiles)
4) spray acrylic sealer (not pictured)

I had all these materials on hand except for the wooden nickels.


To Make:

1) Glue the letters on using the mod podge
2) Let them dry and then brush over them again with mod podge
3) Let them dry and then spray a couple of coats of acrylic sealer on them (outside), allowing them to dry between each coat

There are many different activities that we will be doing using these letter tiles, so be watching for those. I also plan on making two other color sets so that we can play games with big sister.

Make Your Own CVC Blending Chart

CVC (Consonant Vowel Consonant) Blending Chart

Materials:
1) 3-ring binder
2) 3-hole puncher
3) cardstock (I didn't count how many sheets I used-sorry!)
4) paper cutter

To Make:
1) punch holes in both sides of the cardstock
2) cut the cardstock in half lengthwise
3) cut the cardstock to make 3 stacks


4) write all the consonants on the first stack of cards
5) write the vowels on the middle stack of cards
6) write all the consonants again on the third stack of cards


To Use:
1) pick a vowel and an ending consonant, then flip through all the consonant cards in the first stack as your child sounds out and blends the letters together (there will be lots of nonsense words, but some will real words)
2) change the vowels and consonants to make new blends

This tool will reinforce consonant and vowel recognition, letter sound recognition, blending, and reading.